2 Enable Cloud Browsing
2.1 Goal
Complete the basic machine -> browser instance -> user Cloud Browser flow so users can open a remote browser from the Sa2web frontend.
Cloud Browsing creates separate remote browser profiles for each access environment based on the user, proxy, and isolated network.
For example, after User A accesses and logs in to a website through Cloud Browsing, User B will not inherit User A’s login state when accessing the same website. Their cookies, sessions, and other browser data remain isolated from each other.
Likewise, even for the same user, if User A accesses the same website through Proxy A and Proxy B, the two access environments will use separate browser profiles. Their cookies, sessions, and other browser data remain isolated and are not shared between the two environments.
2.2 Add a Machine
Go to:
Browser Management > Machine ManagementClick Add Machine and fill in:
| Field | Recommendation |
|---|---|
| IP address | The private IP of the current Sa2web deployment server |
| Port | Default 7000 |
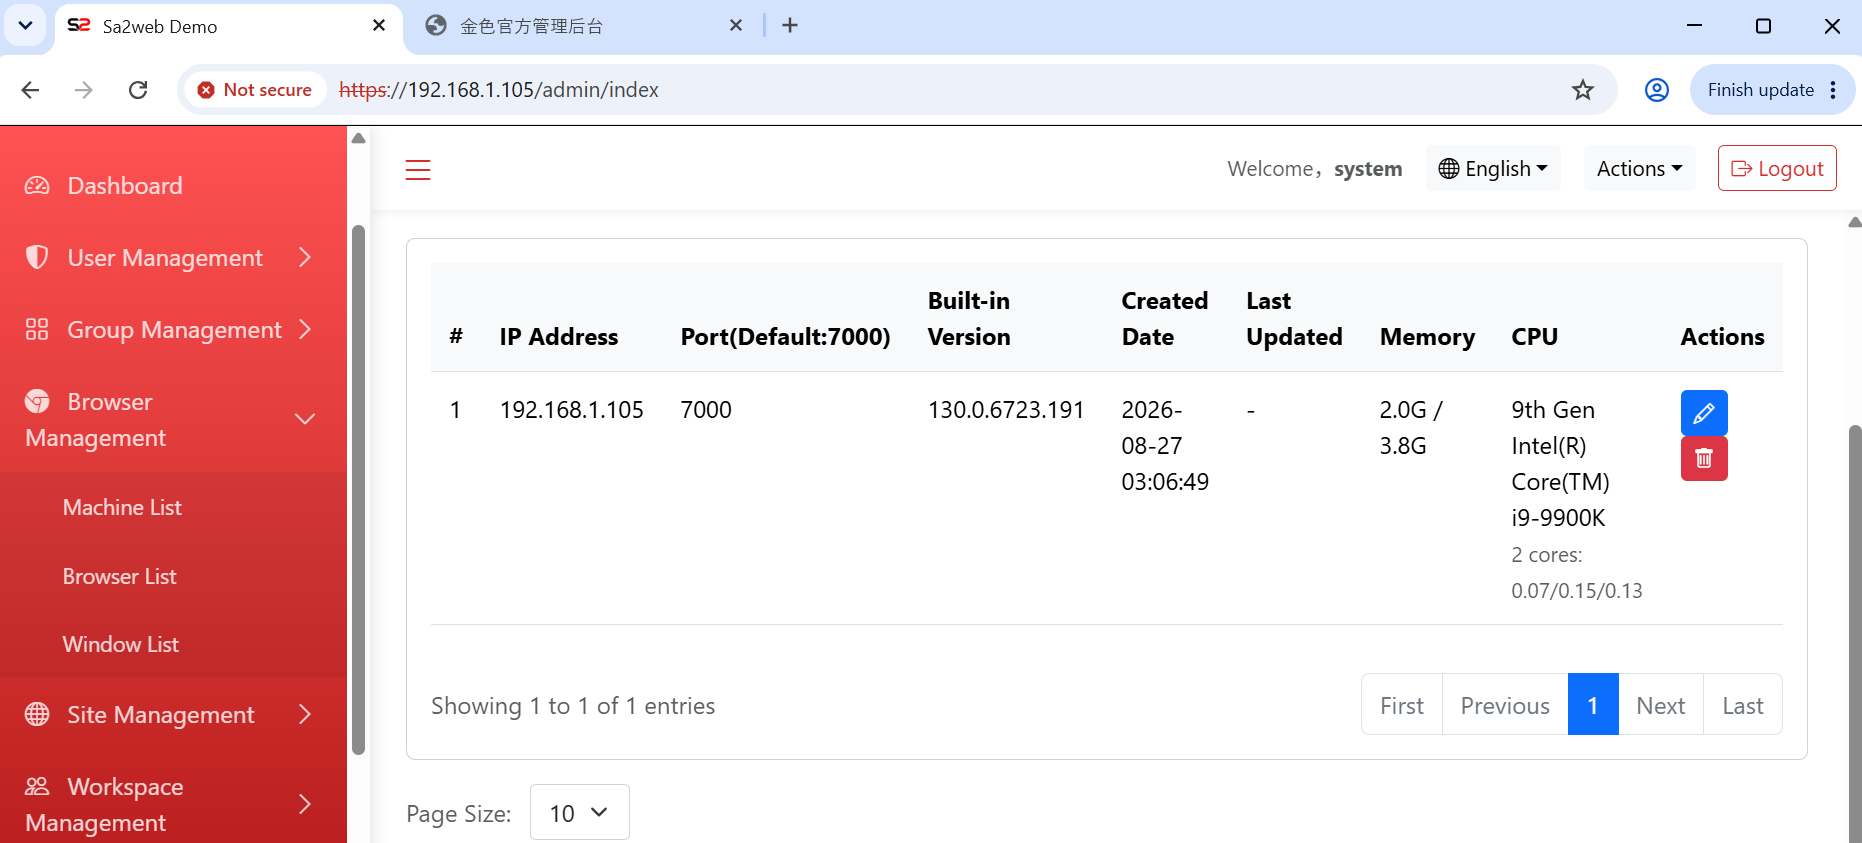
After saving, return to the machine list and confirm that the machine status is normal, as shown in Figure 2.1.
2.3 Add a Browser
Go to:
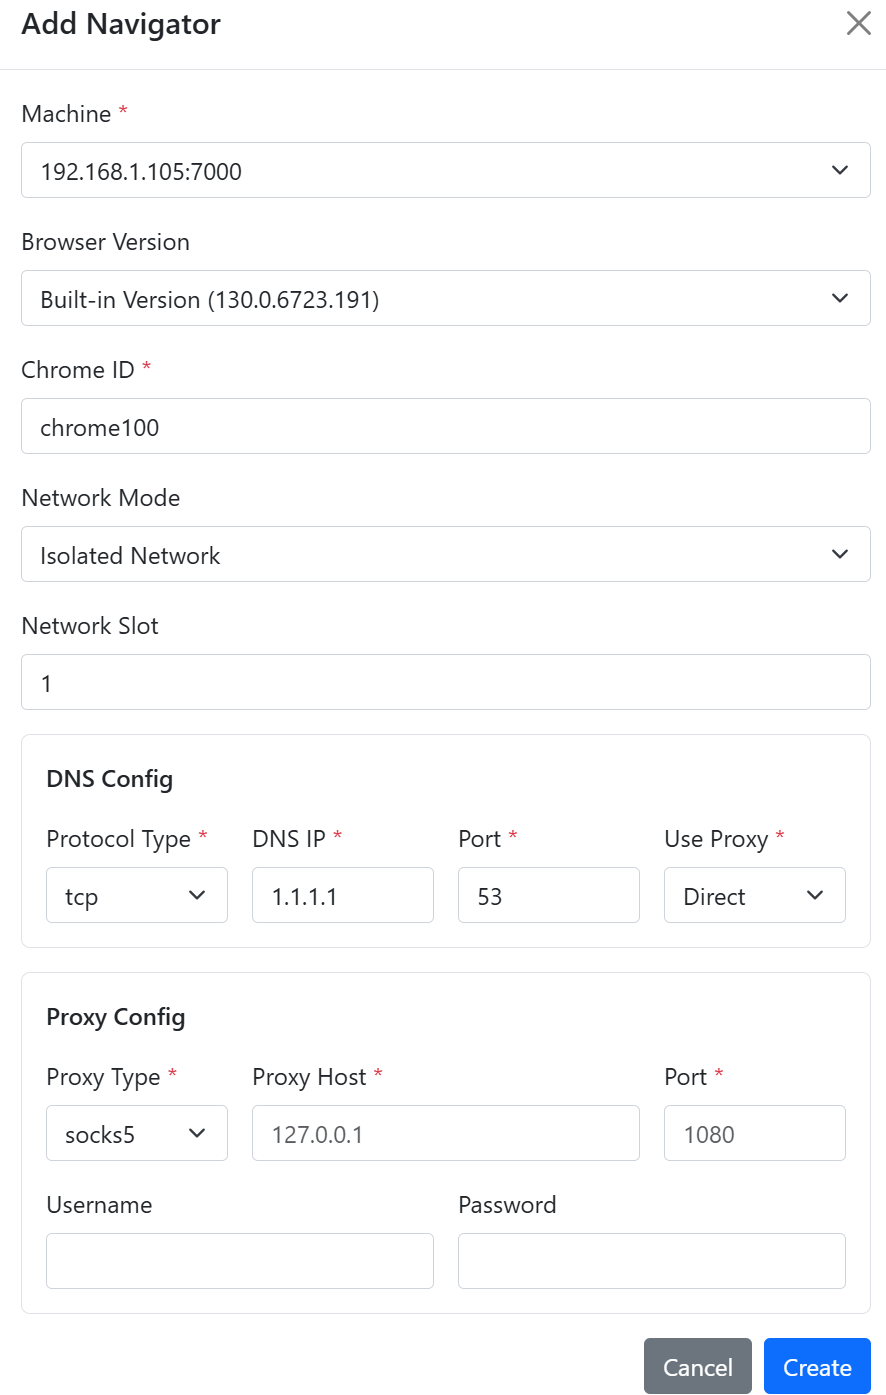
Browser Management > Browser ListClick Add Navigator, as shown in Figure 2.2, and fill in:
| Field | Recommendation |
|---|---|
| Machine | Select the machine you just added |
| Browser version | Use the built-in browser version |
| Browser ID | Enter an easy-to-recognize ID, such as chrome100 |
Choose the network mode based on your scenario:
| Mode | Description |
|---|---|
| Host Network | Uses the server’s local network. HTTP/SOCKS5 proxies can be configured. Suitable for general access scenarios |
| Isolated Network | Creates an independent network environment for this browser. DNS, UDP, WebRTC, and other traffic are taken over. Suitable for scenarios with stronger network isolation requirements |
If you choose Isolated Network, you need to configure a network proxy for the current browser. Proxies configured elsewhere in the system, such as site-level proxies, will be chained on top of this network proxy.
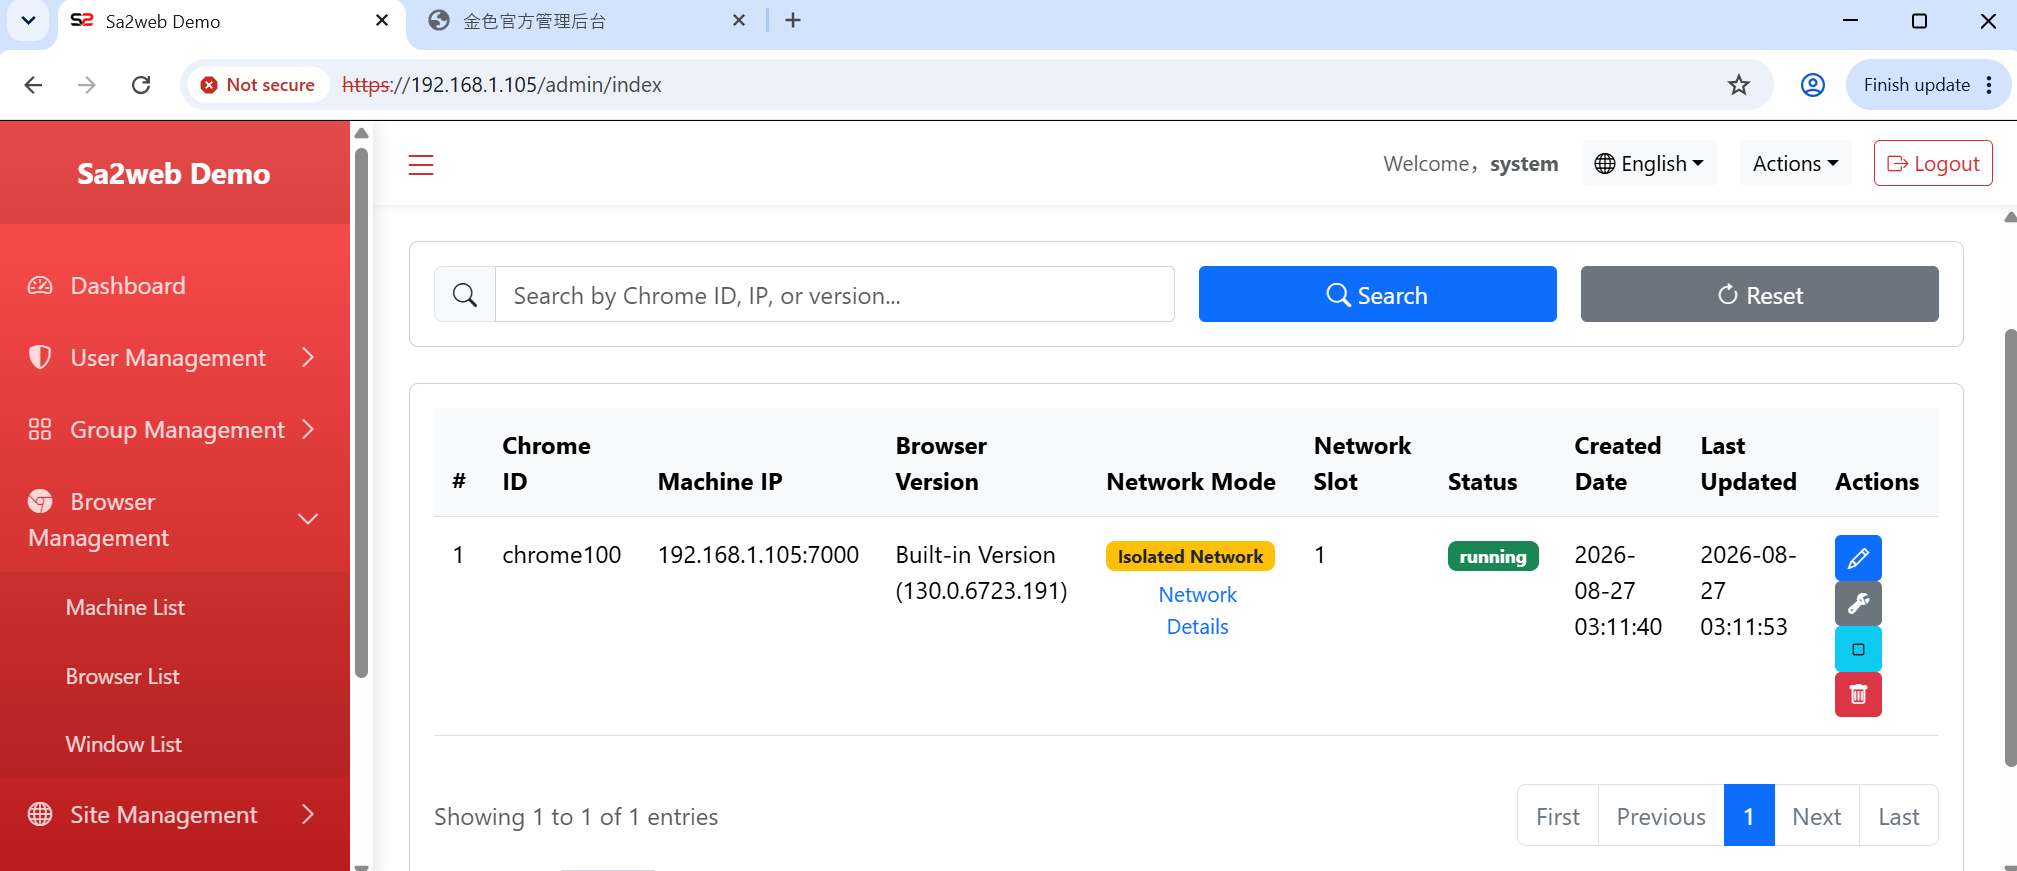
After saving, click to start the browser. When the status becomes Running, the browser instance can be scheduled, as shown in Figure 2.3.
2.4 Configure the Browser
In the browser list, click the “ ” button to open the browser configuration page.
Common settings include:
- Kernel version.
- Operating system.
- Browser brand.
- Browser version.
- Mobile phone model.
- Time zone.
- Language.
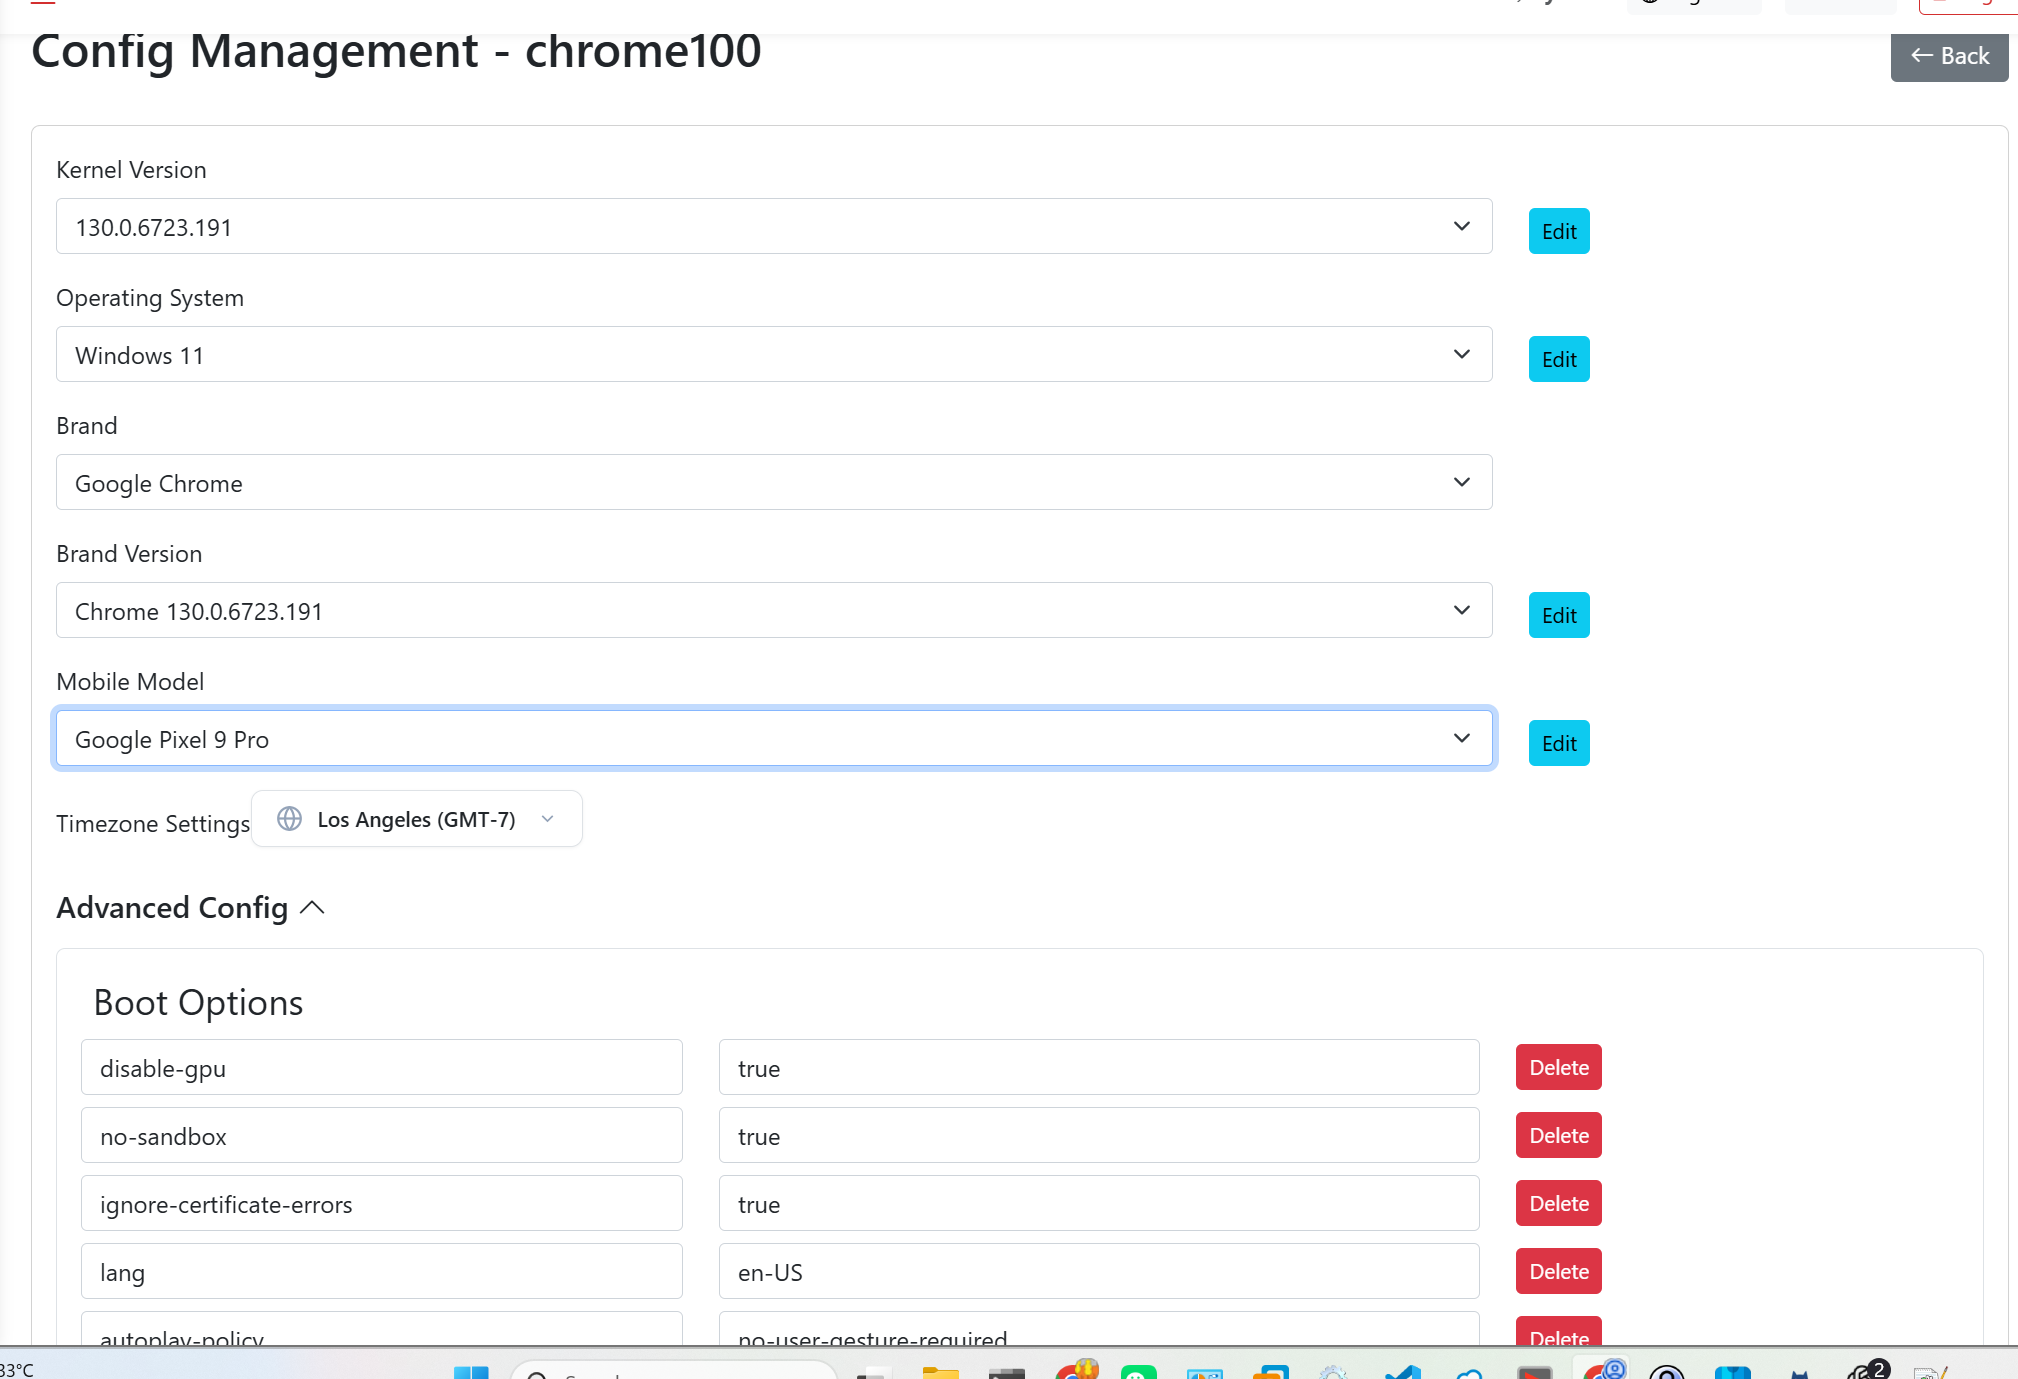
For more complete configuration details, see the browser instance configuration section in Chapter 12, “Site and Inner Site Configuration”.
2.5 Create and Authorize a Group
Go to:
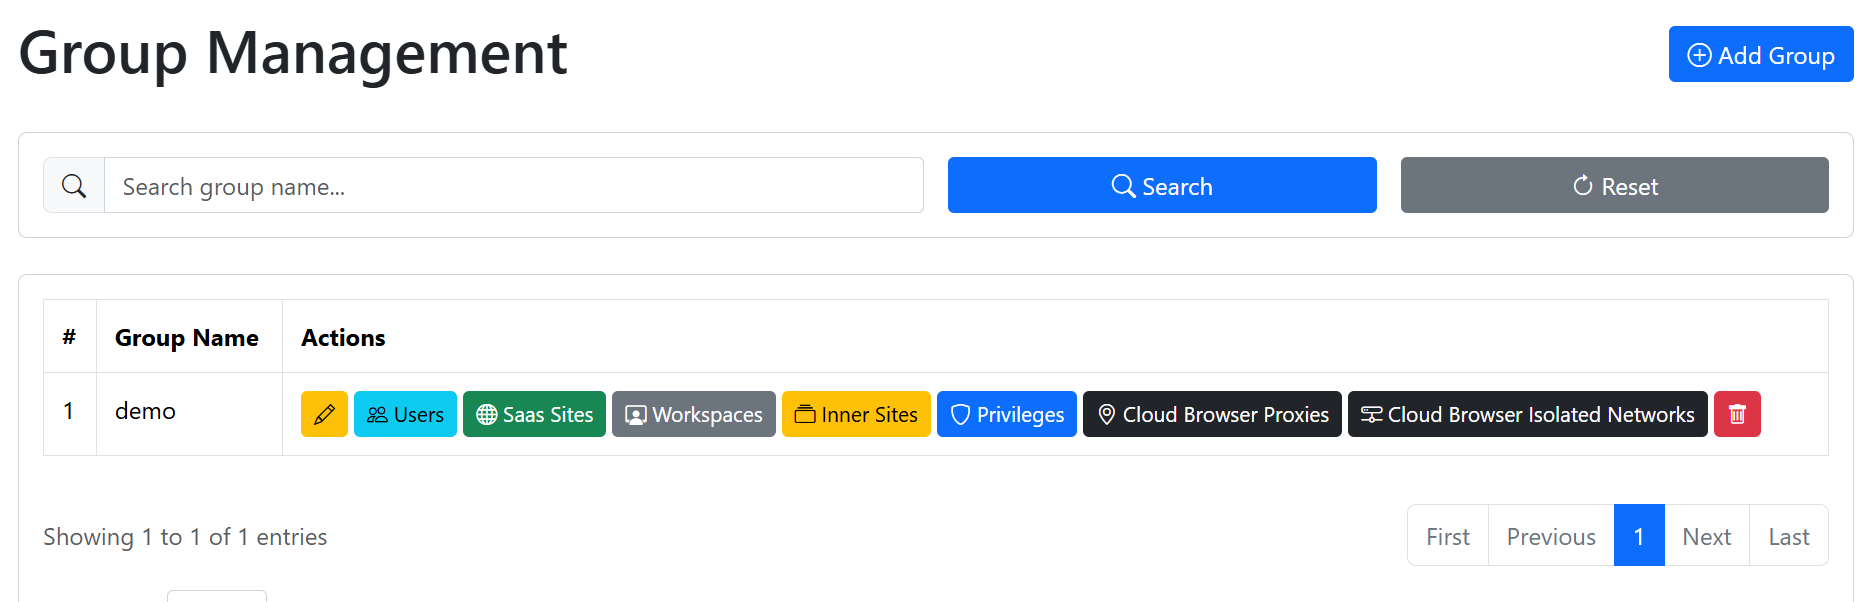
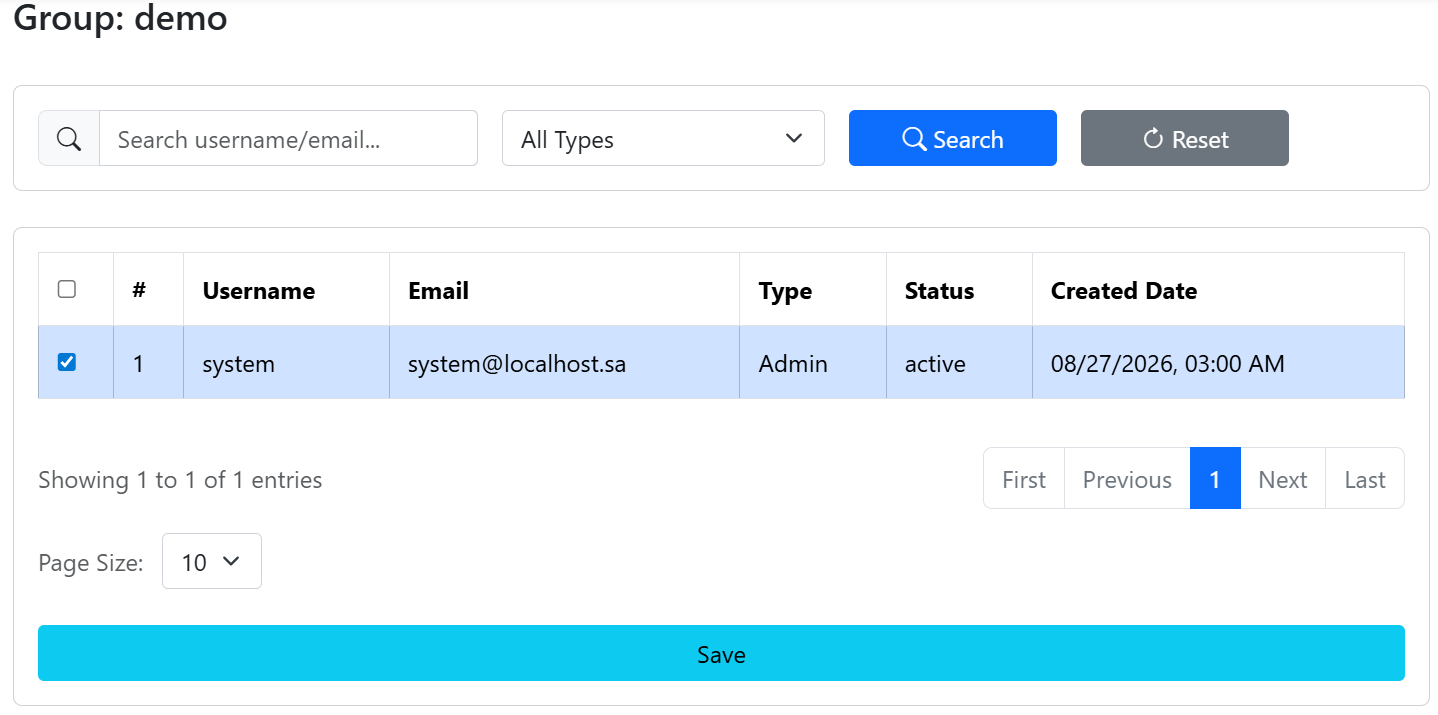
Group ManagementAdd a new group, such as demo, as shown in Figure 2.5. Then open the user configuration for the group and add the test user to it. During the first test, you may only have the system user, so add it to the group and save, as shown in Figure 2.6.
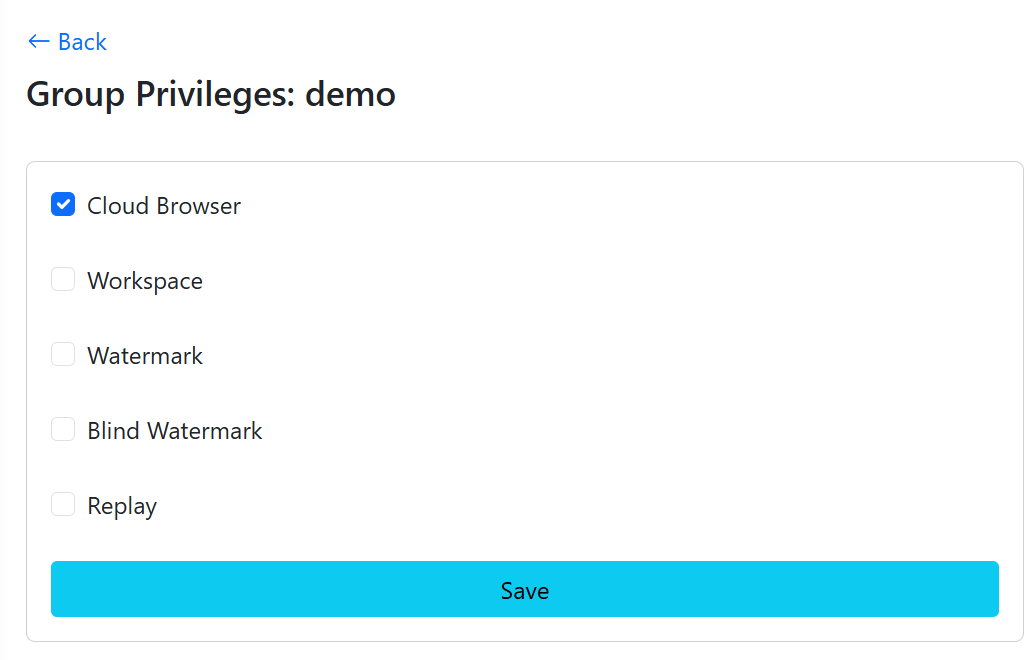
Next, open Privileges and select the features required by the demo group. For minimum validation, select at least Cloud Browser and save, as shown in Figure 2.7.
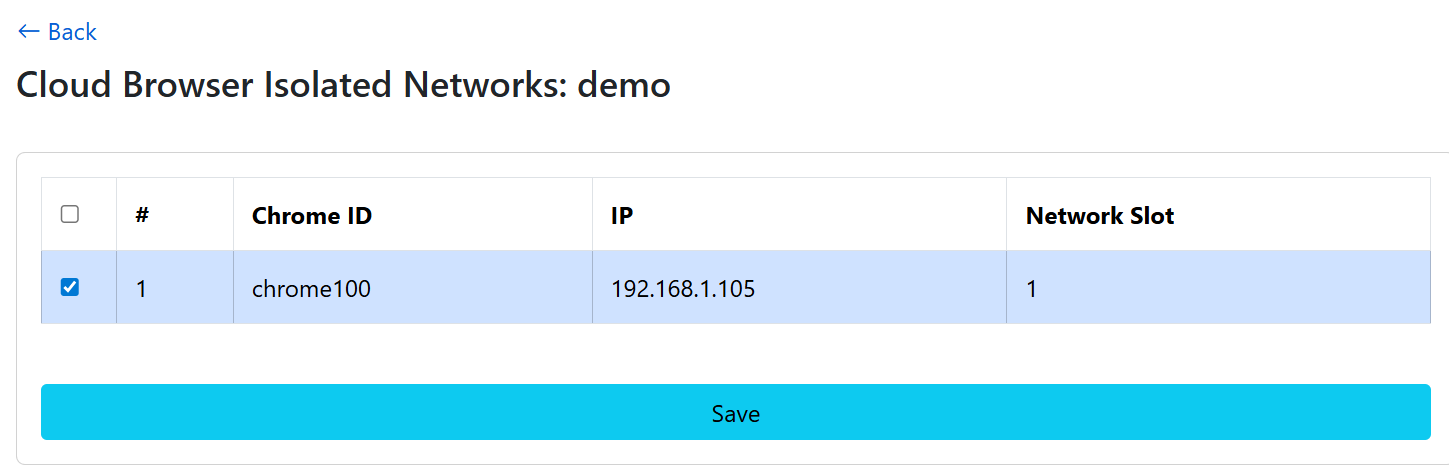
If you used an isolated network earlier, also go to:
Cloud Browser Isolated NetworksSelect the browser you just created, such as chrome100, and save, as shown in Figure 2.8.
2.6 Verify the User Frontend
Open the user frontend:
https://<APP_DOMAIN>/You can also open the login page directly:
https://<APP_DOMAIN>/app/loginLog in as an authorized user. After entering the frontend, you will see a search and URL input box near the top center of the page, with proxy and network selectors nearby.
If you configured an isolated network, first choose the authorized browser in the network dropdown, such as chrome100. Then enter a keyword or URL in the input box:
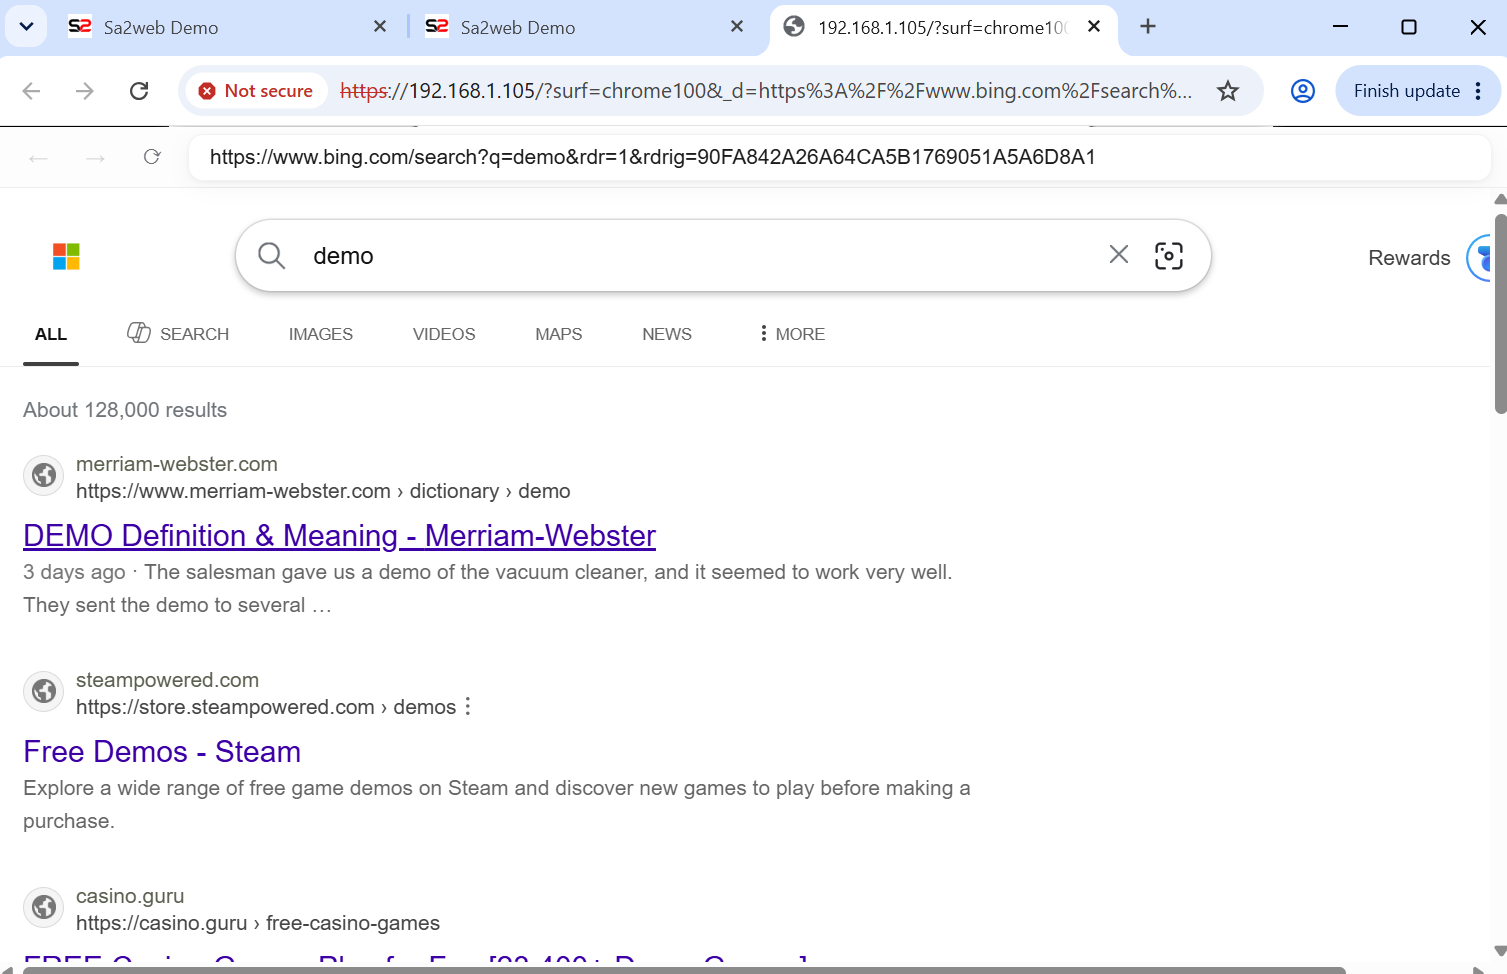
demo
https://www.sa2web.com
If a new tab opens and web browsing works normally, Cloud Browser is available, as shown in Figure 2.9.