9 Enable Watermarks
9.1 Goal
Add traceable watermark policies to remote access.
9.2 Suitable Scenarios
- Contractors.
- Customer support access to customer data.
- Remote work.
- BYOD.
- Sensitive internal backends.
- High-risk business pages.
9.3 Watermark Content Recommendations
Use content that can identify the visitor and access time, for example:
Username / employee ID
Access time
Company name
Access environment identifier
Do not put new sensitive information into the watermark itself.
9.4 Recommended Combination
User / group permissions
      +
Page sensitive content controls
      +
Watermarks
      +
Recording and replay
The value of watermarks is to increase the cost of distributing screenshots and improve traceability after the fact. They should not be described as absolute screenshot prevention.
9.5 Enable Site Watermarks
Go to:
Site Management > Site List
Site Management > Inner Site List
Find the target site or inner site and click the “ ” button to enter the site or inner site configuration page:
- Enable Visible Watermark and Invisible Watermark.
- Save.
- Access again with a test account.
- Verify that the user frontend displays the watermark after accessing the site.
When users open the site from the frontend, they can see the watermarked page, as shown in Figure 9.1.
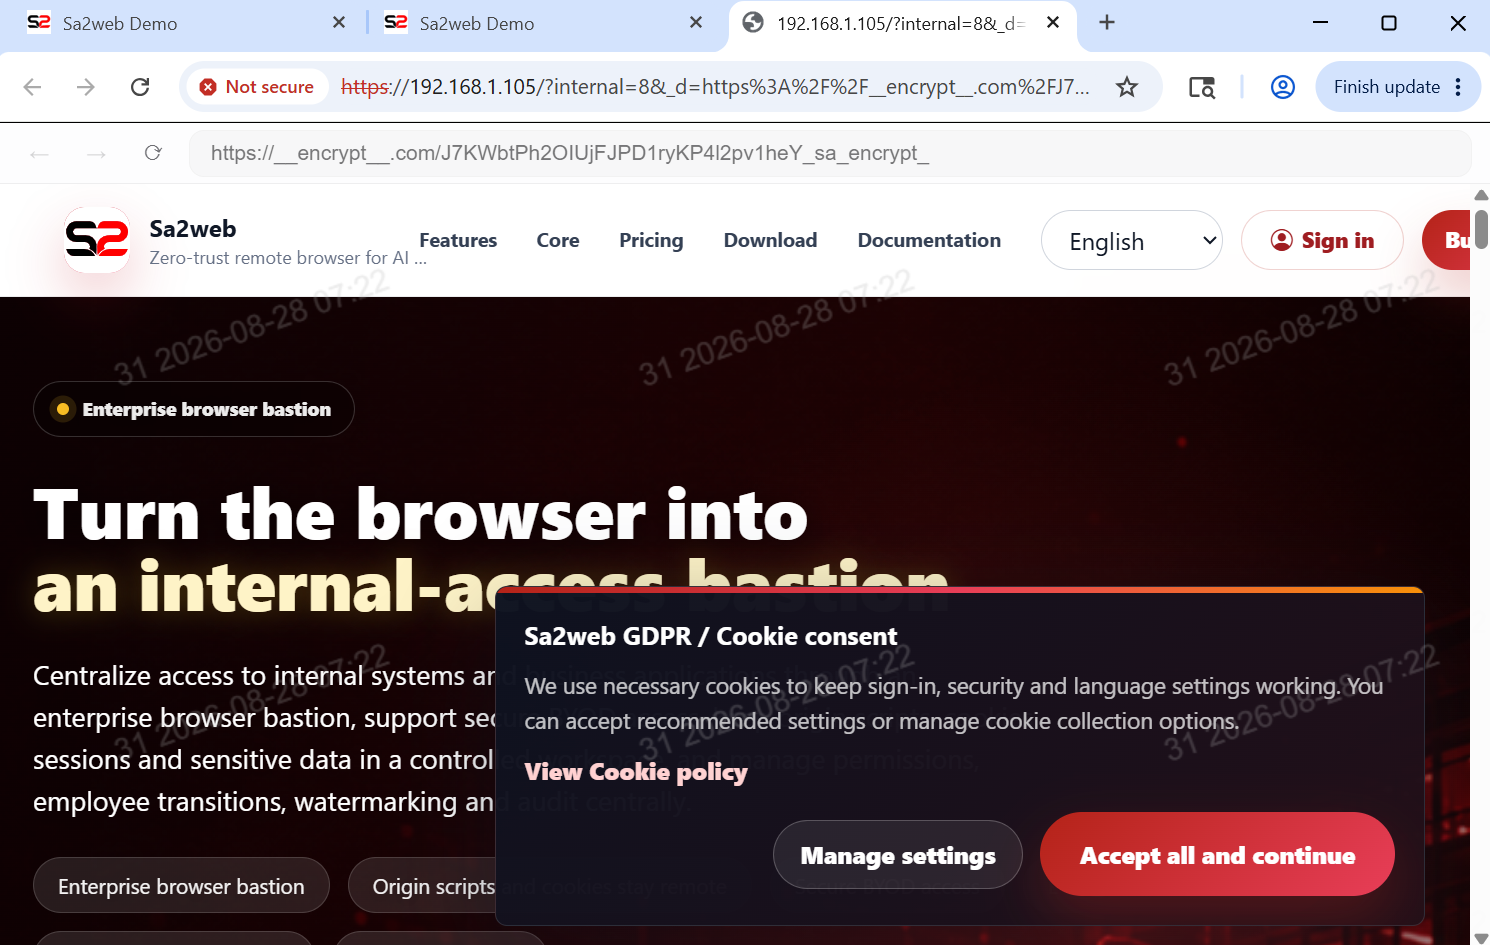
The free edition does not support watermarking.
9.6 Cloud Browser Watermarks
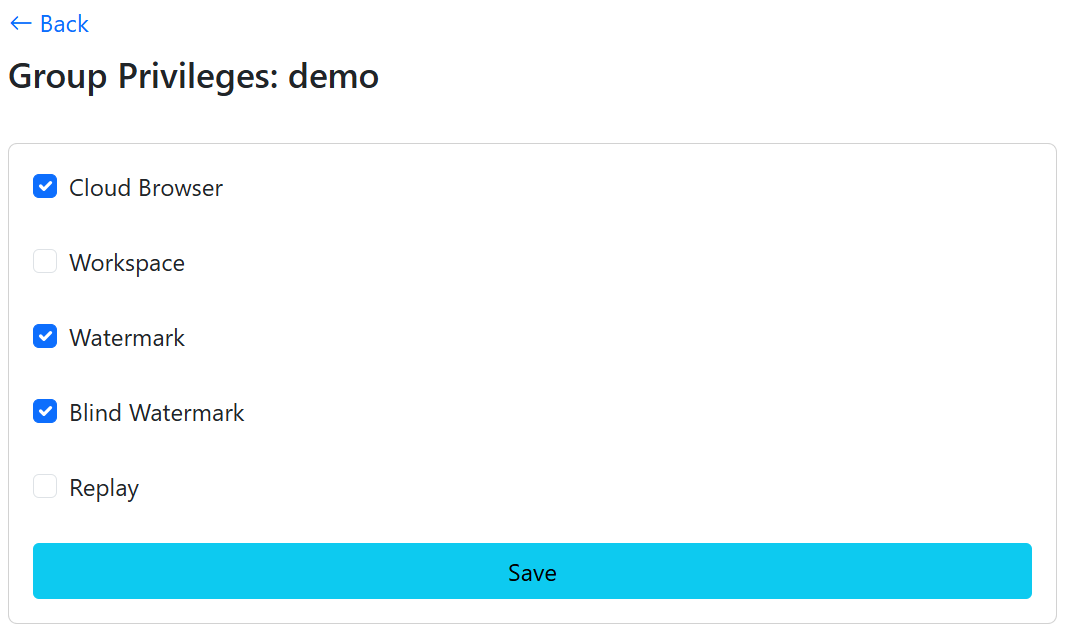
To add watermarks to sites accessed through Cloud Browser, enable the Cloud Browser Watermark switch in group management.
Go to:
Group Management > Group ListClick Privileges to open the group privilege settings page, as shown in Figure 9.2. Select Visible Watermark and Invisible Watermark, then save.
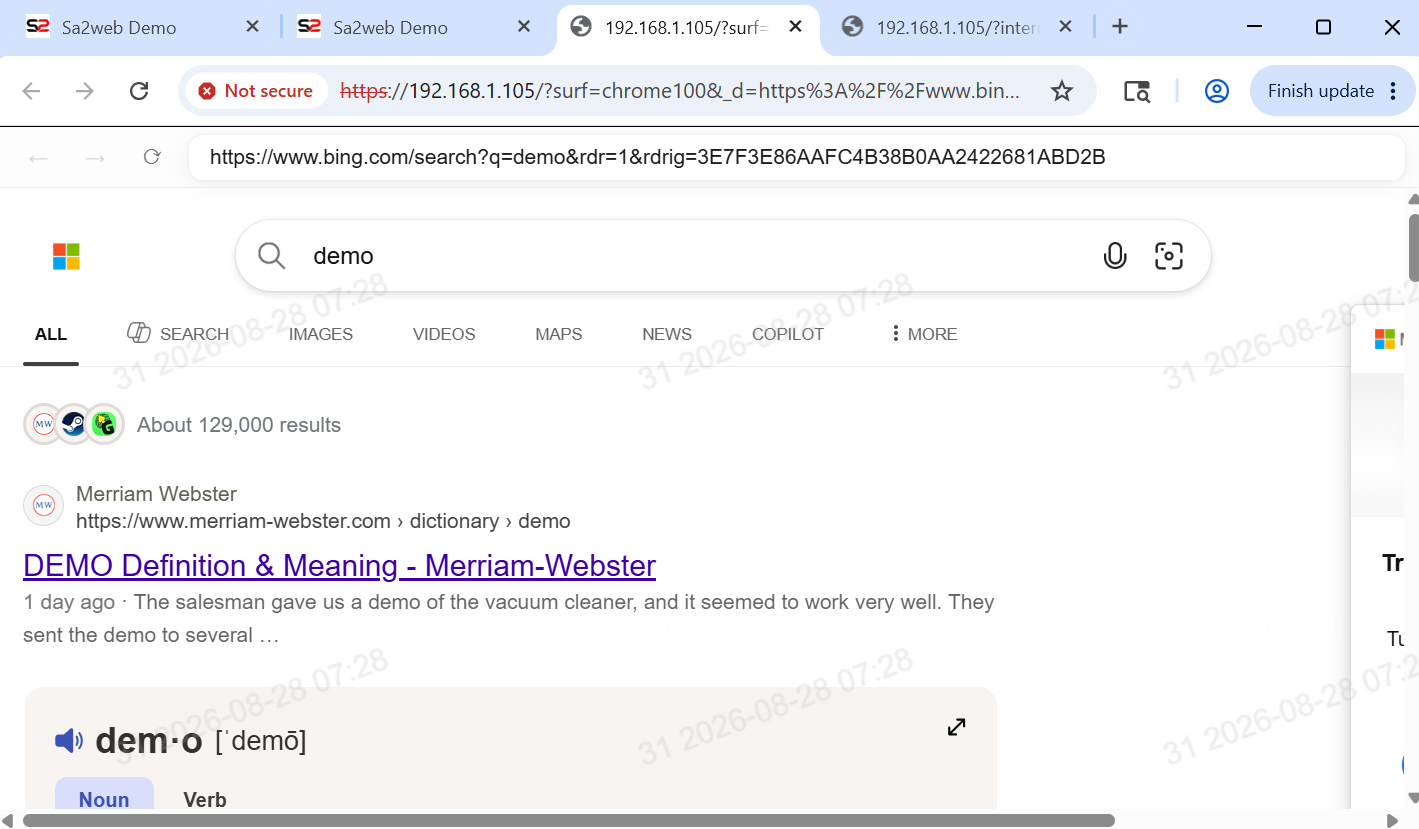
When a user opens the Sa2web frontend and accesses the site, the site displays watermark content, as shown in Figure 9.3.
9.7 Control Watermark Content
Go to:
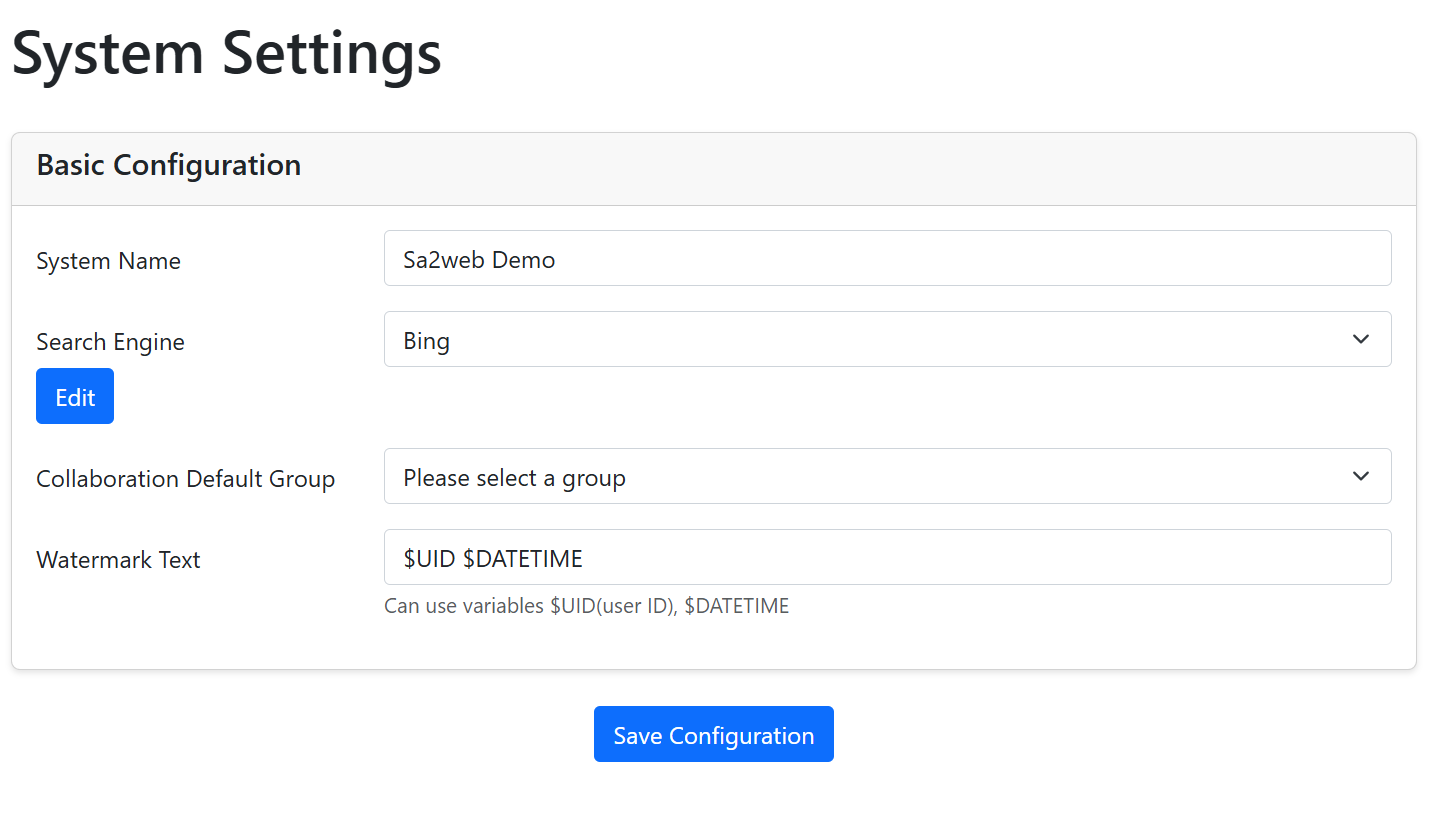
Settings > System SettingsOpen the system settings page and modify the watermark text, as shown in Figure 9.4.